Introduction
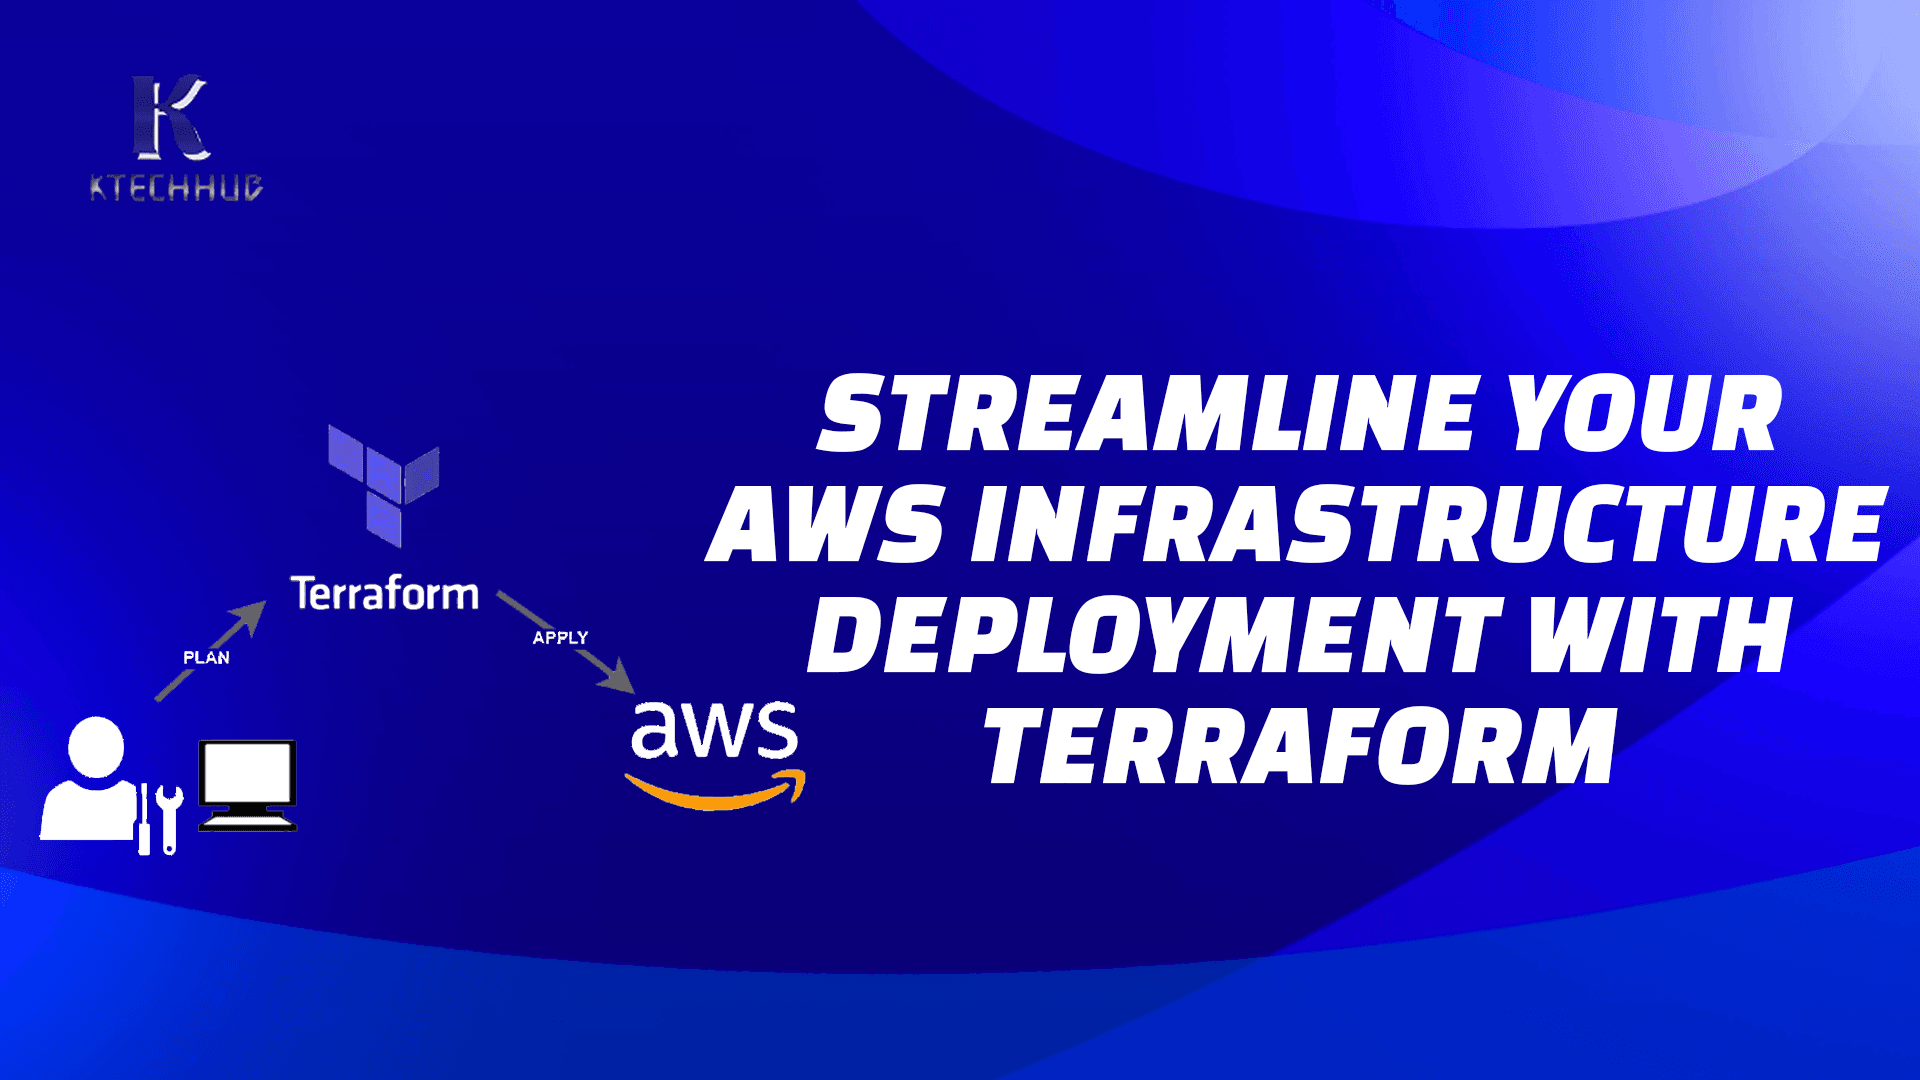
Are you ready to embark on a journey to effortlessly set up a robust AWS infrastructure? Look no further, as this blog post will be your guiding light. In this post, we'll introduce you to a Terraform project that simplifies the deployment of fundamental AWS components, including a Virtual Private Cloud (VPC), subnets, an internet gateway, route tables, a security group, and EC2 instances.
Managing cloud infrastructure can be a daunting task, but with Terraform, the process becomes as smooth as a gentle breeze. Whether you're new to Terraform or looking for a well-structured AWS infrastructure deployment, this guide has got you covered.
We'll start by laying out the prerequisites, guide you through the initial setup, delve into the Terraform configuration, explore variables, and provide step-by-step instructions for deploying and managing your infrastructure. By the end of this post, you'll have a solid understanding of how to leverage Terraform's power to automate AWS infrastructure deployment efficiently.
So, let's dive in and begin our journey to harness the power of Terraform for AWS infrastructure deployment.
Project Content
This Terraform project deploys a basic AWS infrastructure including a Virtual Private Cloud (VPC), a subnet, an internet gateway, route tables, a security group, and EC2 instances. This README provides an overview of the infrastructure and instructions on how to deploy it using Terraform.
Prerequisites
Before you begin, ensure you have the following prerequisites in place:
- Terraform installed on your local machine.
- AWS access and secret access keys with necessary permissions configured. You can set these as environment variables or in a credentials file.
- Ansible installed on your local machine.
Getting Started
- Clone this repository to your local machine.
git clone https://github.com/ktechhub/terraform-ansible.git- Navigate to the project directory:
cd terraform-ansibleProject Folder Structure
.
├── .env
├── .env.example
├── .gitignore
├── LICENSE
├── Makefile
├── README.md
├── ansible
│   ├── README.md
│   ├── example_hosts
│   ├── hosts
│   └── playbook.yml
├── main.tf
├── outputs.tf
├── provider.tf
├── terraform.tfvars.example
└── variables.tf
Terraform Configuration
The Terraform configuration is provided in the main.tf file. Here's an overview of the resources created:
VPC
Creates an AWS VPC with a specified CIDR block
```hcl
resource "aws_vpc" "vpc" {
  cidr_block = var.vpc_cidr_block

  tags = {
    "environment" : var.workspace
  }
}
```
Subnet
Defines a subnet within the VPC with a specific CIDR block and availability zone.
```hcl
resource "aws_subnet" "subnet" {
  vpc_id                  = aws_vpc.vpc.id
  cidr_block              = "10.0.1.0/24"
  availability_zone       = "us-east-1a"
  map_public_ip_on_launch = true
  tags = {
    "environment" : var.workspace
  }
}
```
Internet Gateway
Establishes an internet gateway and attaches it to the VPC.
```hcl
resource "aws_internet_gateway" "ig" {
  vpc_id = aws_vpc.vpc.id
  tags = {
    "environmet" : var.workspace
  }
}
```
Routes
- o
- Sets up a public route table and associates it with the subnet.
- o
- Creates a route for internet-bound traffic via the internet gateway.
```hcl
resource "aws_route_table" "public" {
  vpc_id = aws_vpc.vpc.id
}
resource "aws_route" "public_internet" {
  route_table_id         = aws_route_table.public.id
  destination_cidr_block = "0.0.0.0/0"
  gateway_id             = aws_internet_gateway.ig.id
}
resource "aws_route_table_association" "public_subnet" {
  subnet_id      = aws_subnet.subnet.id
  route_table_id = aws_route_table.public.id
}
```
Security Group
Defines a security group allowing inbound SSH and HTTP traffic.
```hcl
resource "aws_security_group" "sg" {
  name        = "${var.workspace}-sg"
  description = "Allow inbound SSH and HTTP traffic"
  vpc_id      = aws_vpc.vpc.id

  ingress {
    from_port   = 22
    to_port     = 22
    protocol    = "tcp"
    cidr_blocks = ["0.0.0.0/0"]
  }

  ingress {
    from_port   = 80
    to_port     = 80
    protocol    = "tcp"
    cidr_blocks = ["0.0.0.0/0"]
  }

  egress {
    from_port   = 0
    to_port     = 0
    protocol    = "-1"
    cidr_blocks = ["0.0.0.0/0"]
  }

  tags = {
    "environment" : var.workspace
  }
}
```
EC2 Instances
Launches EC2 instances using specified parameters, including the subnet and security group.
```hcl
data "aws_key_pair" "key_pair" {
  key_name = var.key_pair_name
}

resource "aws_instance" "instance" {
  count                  = var.instance_count
  ami                    = var.ami
  instance_type          = var.instance_type
  subnet_id              = aws_subnet.subnet.id
  vpc_security_group_ids = [aws_security_group.sg.id]

  key_name = data.aws_key_pair.key_pair.key_name

  tags = {
    "environment" : var.workspace
  }
}
```
Terraform Variables
You can customize the infrastructure by modifying the variables defined in the `variables.tf` file. Here are the available variables:
```hcl
variable "access_key" {
  type        = string
  description = "AWS Access Key"
}

variable "secret_key" {
  type        = string
  description = "AWS Secret Access Key"
}

variable "workspace" {
  type    = string
  default = "dev"
}

variable "vpc_cidr_block" {
  description = "CIDR block for the VPC"
  type        = string
  default     = "10.0.0.0/16"
}

variable "ami" {
  description = "ID of the Amazon Machine Image (AMI)"
  type        = string
  default     = "ami-0af9d24bd5539d7af"
}

variable "instance_type" {
  description = "Type of EC2 instance"
  type        = string
  default     = "t2.micro"
}

variable "key_pair_name" {
  description = "Name of the key pair"
  type        = string
  default     = "mumuni"
}

variable "instance_count" {
  description = "Number of EC2 instances to launch"
  type        = number
  default     = 1
}
```
Providers Content
```hcl
terraform {
}
provider "aws" {
  access_key = var.access_key
  secret_key = var.secret_key
  region     = "us-east-1"
}
```
Terraform Outputs
After applying the Terraform configuration, you can retrieve information about the created resources using Terraform outputs:
- o
- - `vpc_id`: ID of the VPC.
- o
- - `subnet_id`: ID of the subnet.
- o
- - `ig_id`: ID of the internet gateway.
- o
- - `instances`: List of EC2 instance private and public IP addresses.
```hcl
output "vpc_id" {
  value = aws_vpc.vpc.id
}

output "subnet_id" {
  value = aws_subnet.subnet.id
}

output "ig_id" {
  value = aws_internet_gateway.ig.id
}

output "instances" {
  value = [
    for i, vm in aws_instance.instance : {
      private_ip : vm.private_ip
      public_ip : vm.public_ip
    }
  ]
}
```
Deploy the Infrastructure
- Copy the variables with:
cp terraform.tfvars.example terraform.tfvarsUpdate the variables with the right values.
- - `access_key`: AWS Access Key
- - `secret_key`: AWS Secret Access Key
- - `workspace`: Environment (default: "dev")
- - `vpc_cidr_block`: CIDR block for the VPC (default: "10.0.0.0/16")
- - `ami`: Amazon Machine Image (AMI) ID (default: "ami-0af9d24bd5539d7af")
- - `instance_type`: EC2 instance type (default: "t2.micro")
- - `key_pair_name`: Name of the key pair (default: "mumuni")
- - `instance_count`: Number of EC2 instances to launch (default: 1)
- Initialize Terraform in the project directory:
terraform init- Create an execution plan to preview the changes:
terraform plan- Apply the changes to create the infrastructure:
terraform apply- Confirm by typing yes when prompted.
- Terraform will provision the infrastructure. Wait for it to complete.
Destroy the Infrastructure
To destroy the infrastructure and release AWS resources:
Run:
terraform destroyConfirm by typing yes when prompted.
Manage Infrastructure with Makefile
The Makefile provides convenient targets for running Terraform and Ansible commands. You can execute these targets as follows:
- `make tf-init`: Initialize Terraform.
- `make tf-plan`: Create an execution plan for Terraform.
- `make tf-apply`: Apply Terraform changes.
- `make tf-destroy`: Destroy the Terraform infrastructure.
- `make ansible-apply`: Apply the Ansible playbook located in the `ansible` directory.
Copy environment variables for Makefile
The makefile can use both a `.env` or `.tfvars` file to pass the variables. In this illustration, we will focus on the `.env`. Copy the example file and update the values of the variables
TF_VAR_workspace=dev
TF_VAR_access_key=your-access-key
TF_VAR_secret_key=your-secret-key

TF_VAR_vpc_cidr_block=10.0.0.0/16
TF_VAR_ami=ami-0af9d24bd5539d7af
TF_VAR_instance_type=t2.micro
TF_VAR_key_pair_name=mumuni
TF_VAR_instance_count=1
cp .env.example .envinclude .env
export $(shell sed 's/=.*//' .env)
tf-init:
oterraform init
tf-plan:
oterraform fmt && \
oterraform validate && \
oterraform plan
tf-apply:
oterraform apply
tf-destroy:
oterraform destroy
ansible-apply:
oansible-playbook -i ansible/hosts ansible/playbook.ymlDeploy the Infrastructure - Makefile
1. Initialize Terraform in the project directory:
make tf-init2. Create an execution plan to preview the changes:
make tf-plan3. Apply the changes to create the infrastructure:
make tf-apply4. Confirm by typing yes when prompted.
5. Terraform will provision the infrastructure. Wait for it to complete.
Destroy the Infrastructure - Makefile
To destroy the infrastructure and release AWS resources:
Run:
make tf-destroyConfirm by typing yes when prompted.
Managing Servers with Ansible
In the ever-evolving landscape of IT operations, server management remains a cornerstone of efficiency and reliability. Enter Ansible, the open-source automation tool that simplifies the orchestration and configuration of servers with elegance and precision.
In this guide, we embark on a journey into the realm of "Managing Servers with Ansible." Whether you're a seasoned sysadmin or just getting started with server management, Ansible offers a compelling solution to automate repetitive tasks, enforce consistency, and ensure the scalability of your infrastructure.
Join us as we explore the power of Ansible, unlock its capabilities, and witness how it can transform the way you manage servers, making your operations more efficient, secure, and adaptable.
Deploy Configuration on Servers
Updated the hosts directory with the servers IPs:
52.90.32.234
52.91.20.120
Ansible Playbook
The provided code is an Ansible playbook written in YAML format. Ansible is an open-source automation tool that allows you to define and execute tasks on remote servers in a declarative manner. This playbook appears to be focused on setting up a server for certain tasks, including installing packages and Docker, on remote servers running the Ubuntu operating system.
Here's a breakdown of what this playbook does:
- Playbook Name and Hosts: It defines a playbook named "Install packages and Docker" that is intended to be executed on all hosts specified in the Ansible inventory. The target user for these tasks is "ubuntu," and Ansible should escalate privileges (become) to perform tasks that require superuser (root) access.
- Tasks: The playbook contains a list of tasks, each identified by a "name" for clarity. These tasks are executed in order. o
-
- Install packages: This task uses the apt module to install a list of packages (curl, python3, python3-pip, nginx) on the target server.
- Install Docker prerequisites: Similar to the previous task, this one installs additional packages (apt-transport-https, ca-certificates, curl, gnupg, lsb-release) required for Docker.
- Add Docker's official GPG key: This task adds Docker's official GPG key to the system for package verification.
- Add Docker repository: It adds the Docker repository to the system so that Docker packages can be fetched and installed from there.
- Install Docker: This task uses the apt module to install the Docker Community Edition (docker-ce).
- Install Docker Compose: Installs Docker Compose using Python pip.
- Verify Docker Compose installation: Checks if Docker Compose is installed and stores the output in a variable named docker_compose_version. It uses the ignore_errors option to continue even if Docker Compose is not installed.
- Print Docker Compose version: Prints the Docker Compose version to the console.
- Add ansible user to the docker group: Adds the Ansible user to the Docker group, which is required for non-root users to run Docker commands without sudo.
This playbook essentially automates the setup of a server by installing necessary packages and configuring Docker. It's designed to be reusable and can be executed on multiple remote servers to ensure they are properly set up for the intended tasks.
```yaml
---
- name: Install packages and Docker
  hosts: all
  user: ubuntu
  become: true
  tasks:
    - name: Install packages
      apt:
        name: "{{ packages }}"
        update_cache: yes
      vars:
        packages:
          - curl
          - python3
          - python3-pip
          - nginx

    - name: Install Docker prerequisites
      apt:
        name: "{{ packages }}"
        update_cache: yes
      vars:
        packages:
          - apt-transport-https
          - ca-certificates
          - curl
          - gnupg
          - lsb-release

    - name: Add Docker's official GPG key
      apt_key:
        url: https://download.docker.com/linux/ubuntu/gpg
        state: present

    - name: Add Docker repository
      apt_repository:
        repo: "deb [arch=amd64] https://download.docker.com/linux/ubuntu {{ ansible_lsb.codename }} stable"
        state: present

    - name: Install Docker
      apt:
        name: docker-ce
        state: present

    - name: Install Docker Compose
      pip:
        name: docker-compose
        state: present

    - name: Verify Docker Compose installation
      command: docker-compose --version
      register: docker_compose_version
      ignore_errors: true

    - name: Print Docker Compose version
      debug:
        var: docker_compose_version.stdout_lines

    - name: Add ansible user to the docker group
      become: true
      command: usermod -aG docker "{{ ansible_user }}"
      become_user: root
```
Run the script with:
ansible-playbook -i ansible/hosts ansible/playbook.ymlOr:
make ansible-applyConclusion
In today's dynamic and cloud-centric world, efficiently deploying a robust AWS infrastructure is a must for businesses and individuals alike. However, this task can often be overwhelming due to the intricacies of AWS services and configurations. Fortunately, Terraform emerged as a beacon of simplicity and automation in infrastructure management.
Throughout this blog post, we've unveiled the potential of Terraform by demonstrating how it can streamline the deployment of critical AWS components. From creating VPCs to launching EC2 instances, Terraform simplifies complex tasks, making them accessible to both newcomers and seasoned cloud professionals.
To recap our journey:
- We began by setting the stage with essential prerequisites, ensuring you're well-prepared for deployment.
- We then guided you through the initial setup, providing clear steps to clone the Terraform project and prepare your local environment.
- The heart of the post explored the Terraform configuration, breaking down each AWS resource, from VPCs to security groups, in a clear and concise manner.
- Terraform's flexibility shone through as we discussed variables, allowing you to customize your infrastructure with ease.
- We walked you through the deployment process step by step, ensuring that you can confidently create your AWS infrastructure.
- When it's time to bid adieu to your resources, we provided instructions for destroying the infrastructure safely.
Additionally, we introduced the convenience of a Makefile, simplifying Terraform and Ansible commands to expedite your infrastructure management tasks.
By following this guide, you've not only gained practical knowledge of Terraform but also acquired a foundation for building and managing cloud infrastructures efficiently. Whether you're deploying a test environment, a production-ready setup, or anything in between, Terraform empowers you to do so with precision and automation.
As you venture further into the realm of AWS infrastructure, remember that Terraform is your trusted companion, simplifying the complex and making the impossible seem routine. Harness its power, explore its limitless potential, and continue your journey toward cloud mastery.
We hope this guide has been a valuable resource on your path to AWS infrastructure deployment. May your cloud endeavors be smooth, your infrastructure resilient, and your applications thrive in the cloud. Happy Terraforming!

Experienced DevOps Engineer proficient in Python, Docker, Kubernetes, CI/CD, and cloud technologies. Specialized in automating processes and building scalable infrastructure for seamless development and deployment.