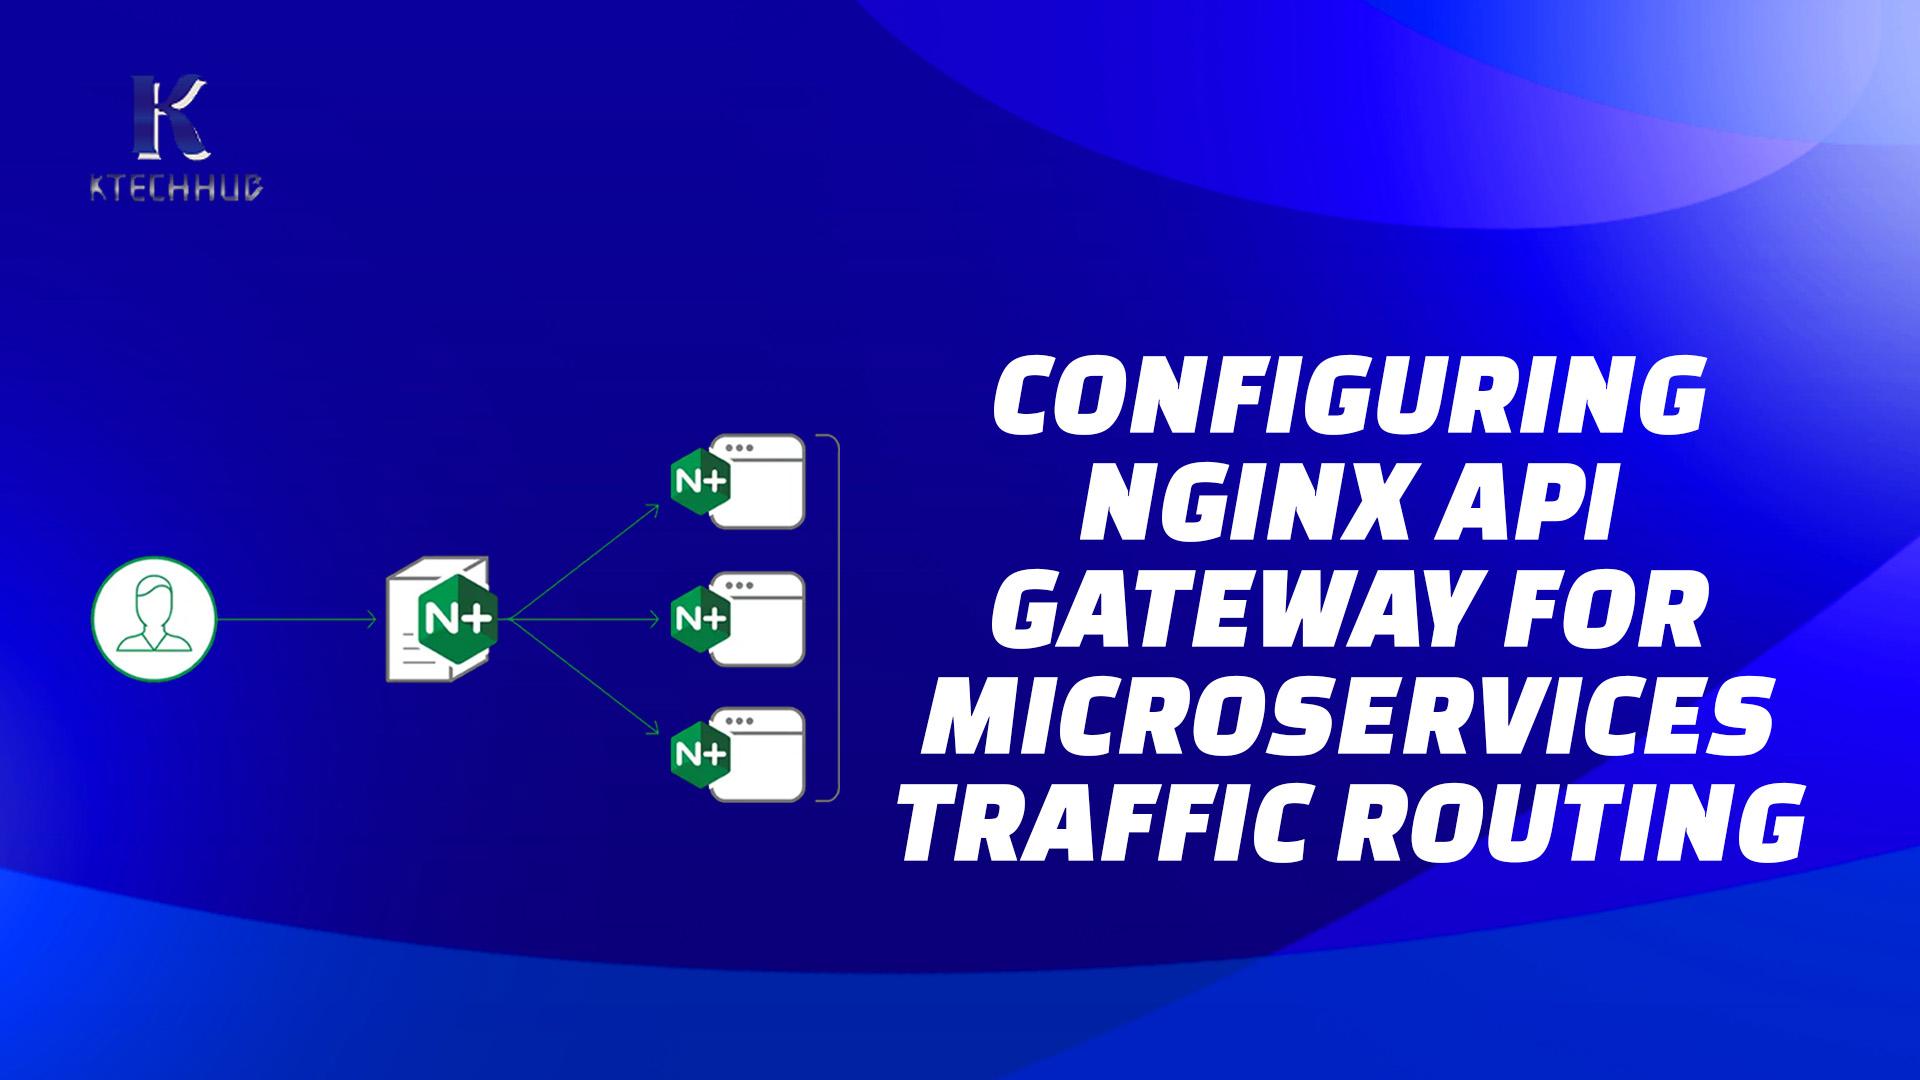
When working with microservices, having a centralized API gateway is crucial for efficient routing, load balancing, security, and monitoring. In this guide, we will explore how to set up an NGINX-based API gateway to route requests from api.ex.com to specific services like auth.ex.com, user.ex.com, companies.ex.com, and payments.ex.com. We’ll cover every step in detail, including SSL setup with Let’s Encrypt, path-based routing, and advanced optimizations.
Why an API Gateway?
When building a distributed architecture, microservices are often deployed on separate domains or endpoints. Without a centralized API gateway, clients would need to know each service’s endpoint, which can lead to complex configurations and security issues. An API gateway solves these problems by acting as a reverse proxy that handles the following:
- Routing: Redirect requests based on path or domain to the correct service.
- Centralized Security: Implement SSL/TLS encryption, authentication, and rate limiting.
- Monitoring and Logging: Track incoming requests and errors centrally.
- Load Balancing: Distribute traffic among multiple instances of a service.
Step 1: Install and Set Up NGINX
Installation
-
On Ubuntu/Debian:
sudo apt update sudo apt install nginx -
On macOS using Homebrew:
brew install nginx
After installation, verify NGINX is running:
sudo systemctl status nginx  # On Linux
nginx -v  # Check version
Step 2: Configure NGINX as a Reverse Proxy
The goal is to have requests like:
api.ex.com/auth→ Forwarded toauth.ex.comapi.ex.com/user→ Forwarded touser.ex.comapi.ex.com/companies→ Forwarded tocompanies.ex.comapi.ex.com/payments→ Forwarded topayments.ex.com
Create a New NGINX Configuration File
On Ubuntu/Debian, create a configuration in /etc/nginx/sites-available/:
sudo nano /etc/nginx/sites-available/api_gateway
On macOS, modify the nginx.conf located in /usr/local/etc/nginx/:
sudo nano /usr/local/etc/nginx/nginx.conf
Configuration for Reverse Proxy
Add the following:
server {
    listen 80;
    server_name api.ex.com;

    # Route requests based on the path
    location /auth/ {
        proxy_pass http://auth.ex.com/;
        proxy_set_header Host $host;
        proxy_set_header X-Real-IP $remote_addr;
        proxy_set_header X-Forwarded-For $proxy_add_x_forwarded_for;
    }

    location /companies/ {
        proxy_pass http://companies.ex.com/;
        proxy_set_header Host $host;
        proxy_set_header X-Real-IP $remote_addr;
        proxy_set_header X-Forwarded-For $proxy_add_x_forwarded_for;
    }

    location /user/ {
        proxy_pass http://user.ex.com/;
        proxy_set_header Host $host;
        proxy_set_header X-Real-IP $remote_addr;
        proxy_set_header X-Forwarded-For $proxy_add_x_forwarded_for;
    }

    location /payments/ {
        proxy_pass http://payments.ex.com/;
        proxy_set_header Host $host;
        proxy_set_header X-Real-IP $remote_addr;
        proxy_set_header X-Forwarded-For $proxy_add_x_forwarded_for;
    }

    # Default for unmatched routes
    location / {
        return 404;
    }
}
Explanation of Key Directives:
serverblock: Defines the configuration for requests coming toapi.ex.com.locationblocks: Route requests based on the path.proxy_pass: The destination where requests should be forwarded.proxy_set_header: Set custom headers for forwarded requests:Host: Preserve the original host header.X-Real-IP: The client’s actual IP address.X-Forwarded-For: Track the chain of proxies.
Step 3: Configure SSL with Let’s Encrypt (Certbot)
To secure the API gateway with HTTPS, we’ll use Let’s Encrypt to issue SSL certificates.
Install Certbot
On Ubuntu/Debian:
sudo apt install certbot python3-certbot-nginx
Request an SSL Certificate
Use Certbot to request a certificate for api.ex.com:
sudo certbot --nginx -d api.ex.com
Certbot will automatically configure SSL in the NGINX config. It will add a block like this:
server {
    listen 443 ssl;
    server_name api.ex.com;

    ssl_certificate /etc/letsencrypt/live/api.ex.com/fullchain.pem;
    ssl_certificate_key /etc/letsencrypt/live/api.ex.com/privkey.pem;

    include /etc/letsencrypt/options-ssl-nginx.conf;
    ssl_dhparam /etc/letsencrypt/ssl-dhparams.pem;

    location /auth/ {
        proxy_pass http://auth.ex.com/;
    }

    location /companies/ {
        proxy_pass http://companies.ex.com/;
    }

    location /user/ {
        proxy_pass http://user.ex.com/;
    }

    location /payments/ {
        proxy_pass http://payments.ex.com/;
    }
}

# Redirect HTTP to HTTPS
server {
    listen 80;
    server_name api.ex.com;
    return 301 https://$host$request_uri;
}
Step 4: Enable the Configuration and Restart NGINX
-
On Ubuntu/Debian:
sudo ln -s /etc/nginx/sites-available/api_gateway /etc/nginx/sites-enabled/ sudo nginx -t # Check for syntax errors sudo systemctl restart nginx -
On macOS:
sudo nginx -s reload
Step 5: Verify the Setup
Try the following URLs in your browser or using curl:
https://api.ex.com/authhttps://api.ex.com/userhttps://api.ex.com/companieshttps://api.ex.com/payments
If configured correctly, the requests should be routed to their respective microservices.
Optional Enhancements
1. Load Balancing
If any of your services are running multiple instances, you can configure load balancing:
upstream auth_service {
    server auth1.ex.com;
    server auth2.ex.com;
}

location /auth/ {
    proxy_pass http://auth_service;
}
2. Rate Limiting
Protect your services from DoS attacks by limiting the rate of incoming requests:
limit_req_zone $binary_remote_addr zone=api_limit:10m rate=10r/s;

server {
    location / {
        limit_req zone=api_limit burst=5;
        proxy_pass http://auth.ex.com;
    }
}
3. Caching
If you want to cache responses for better performance:
proxy_cache_path /tmp/nginx_cache levels=1:2 keys_zone=my_cache:10m max_size=1g inactive=60m use_temp_path=off;

location /auth/ {
    proxy_cache my_cache;
    proxy_pass http://auth.ex.com;
}
Conclusion
You now have a working API gateway that routes traffic to multiple microservices, with SSL encryption, rate limiting, and optional load balancing. This setup centralizes traffic management, improves security, and lays the foundation for scalability. If you need to handle more advanced API gateway features like request validation, JWT authentication, or dynamic routing, consider integrating tools like Kong Gateway or Traefik.

Experienced DevOps Engineer proficient in Python, Docker, Kubernetes, CI/CD, and cloud technologies. Specialized in automating processes and building scalable infrastructure for seamless development and deployment.