KtechHub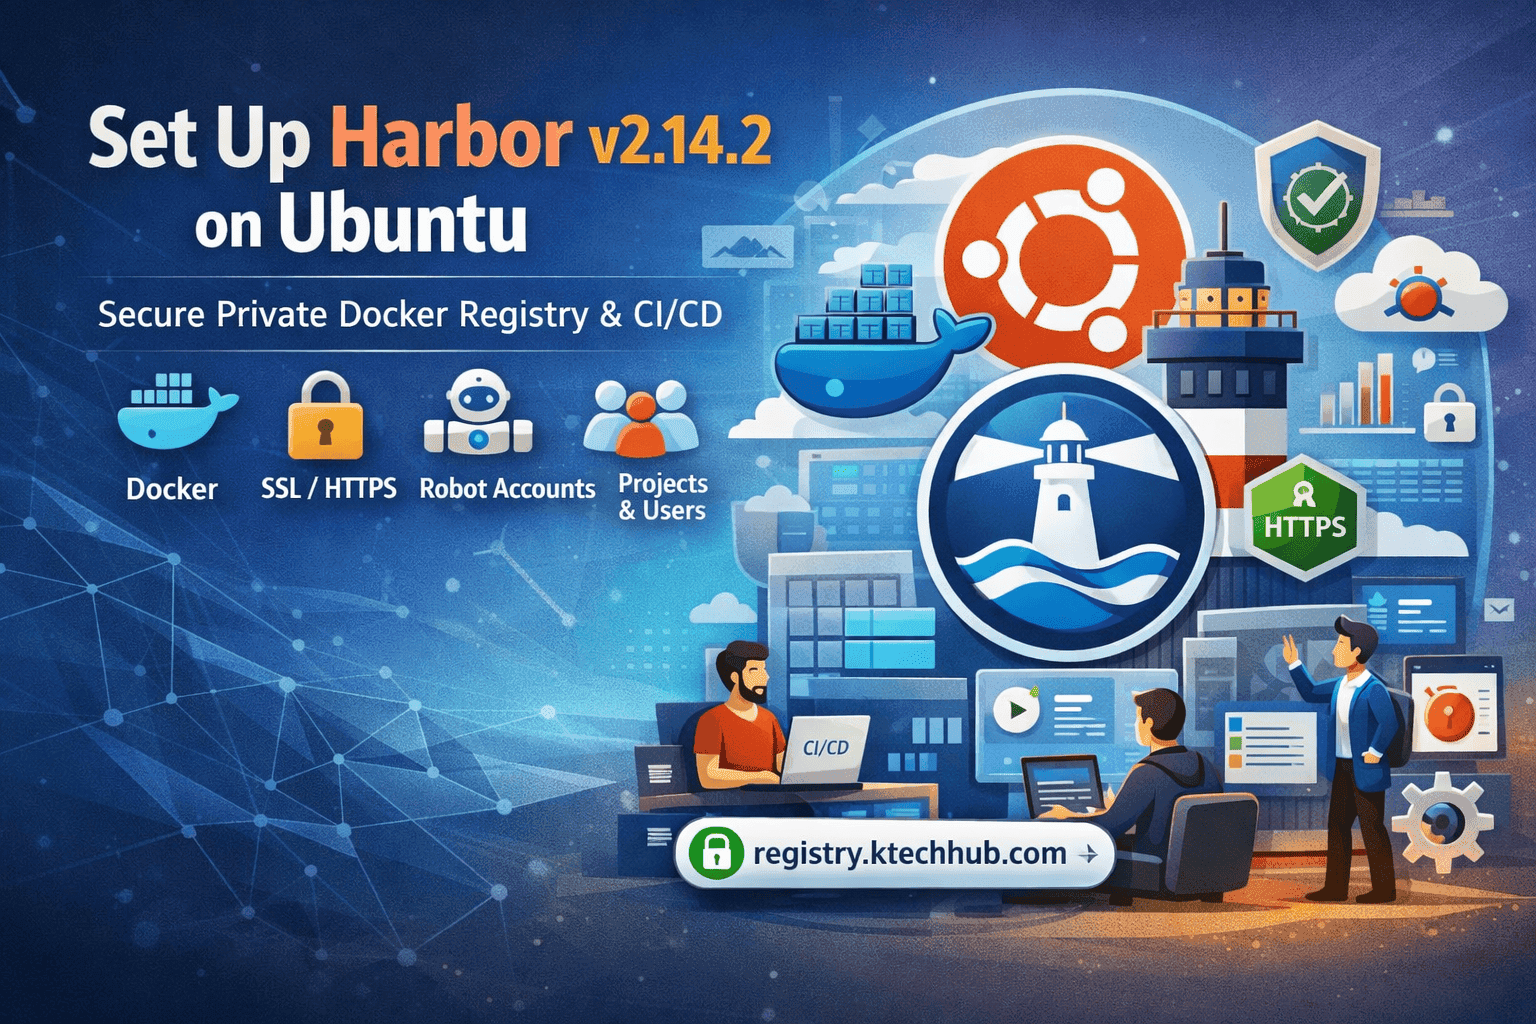
Setting up your own private Docker registry gives you full control over images, security, and CI/CD workflows. In this guide, we’ll deploy Harbor v2.14.2 on Ubuntu with:
-
✅ Docker installed properly
-
✅ A custom domain (
registry.ktechhub.com) -
✅ Let’s Encrypt SSL
-
✅ Projects, users, and robot accounts
-
✅ Common architecture pitfalls explained
This guide is based on a real-world working deployment.
🏗️ Architecture Overview
We will use:
-
Ubuntu Server (22.04 or 24.04)
-
Docker + Docker Compose
-
Harbor v2.14.2
-
Domain example:
registry.ktechhub.com -
Let’s Encrypt SSL
-
Harbor running directly with HTTPS
⚠️ Very Important: Architecture Matters (ARM vs AMD64)
Before installing Harbor, check your server architecture:
uname -m
If you see:
x86_64 ✅ GOOD
If you see:
aarch64 ❌ ARM (NOT supported for Harbor Compose installer)
❌ What Happens on ARM?
When installing Harbor on ARM (e.g., Oracle Ampere, AWS Graviton), you may see:
WARNING: The requested image's platform (linux/amd64) does not match the detected host platform (linux/arm64/v8)
exec format error
Or containers continuously restarting:
harbor-core   Restarting (2)
registry      Restarting (2)
Even worse, you might see Go runtime crashes like:
fatal error: lfstack.push
✅ Solution
Use an AMD64 (x86_64) VPS.
Ubuntu version does NOT matter:
-
Ubuntu 20.04
-
Ubuntu 22.04
-
Ubuntu 24.04
All work fine — as long as architecture is x86_64.
🐳 STEP 1 — Install Docker Properly
Instead of using the minimal Ubuntu package, follow a proper Docker installation guide:
👉 Docker installation reference:
https://www.ktechhub.com/tutorials/how-to-install-docker-and-docker-compose-on-raspberry-pi-debian-ubuntu
After installation, verify:
docker --version
docker compose version
🧱 STEP 2 — DNS Configuration
Point your domain to your server:
registry.ktechhub.com → YOUR_SERVER_IP
Test:
ping registry.ktechhub.com
📦 STEP 3 — Download Harbor v2.14.2
wget https://github.com/goharbor/harbor/releases/download/v2.14.2/harbor-online-installer-v2.14.2.tgz

tar xvf harbor-online-installer-v2.14.2.tgz
cd harbor
🔐 STEP 4 — Generate Let’s Encrypt Certificate
Install certbot:
sudo apt install certbot -y
Generate certificate:
sudo certbot certonly --standalone -d registry.ktechhub.com
Certificates will be stored at:
/etc/letsencrypt/live/registry.ktechhub.com/fullchain.pem
/etc/letsencrypt/live/registry.ktechhub.com/privkey.pem
⚙️ STEP 5 — Configure Harbor
Copy config:
cp harbor.yml.tmpl harbor.yml
nano harbor.yml
Set hostname
hostname: registry.ktechhub.com
Configure HTTPS
https:
  port: 443
  certificate: /etc/letsencrypt/live/registry.ktechhub.com/fullchain.pem
  private_key: /etc/letsencrypt/live/registry.ktechhub.com/privkey.pem
Set Admin Password
harbor_admin_password: StrongPasswordHere
Set Data Volume (Recommended)
data_volume: /data
Create directory:
sudo mkdir -p /data
sudo chown -R $USER:$USER /data
🚀 STEP 6 — Install Harbor
sudo ./install.sh
Verify:
docker ps
You should see containers like:
-
harbor-core
-
harbor-db
-
harbor-jobservice
-
registry
-
nginx
🌍 STEP 7 — Open Firewall
sudo ufw allow 80
sudo ufw allow 443
🎉 Access Harbor
Open:
https://registry.ktechhub.com
Login:
Username: admin
Password: your password
🐳 Test Docker Login & Push
Login:
docker login registry.ktechhub.com
Push test image:
docker pull nginx
docker tag nginx registry.ktechhub.com/library/nginx:latest
docker push registry.ktechhub.com/library/nginx:latest
🔁 Auto Renew SSL
Test renewal:
sudo certbot renew --dry-run
Add cron job:
sudo crontab -e
Add:
0 3 * * * certbot renew --quiet
Restart Harbor after renewal:
docker compose down
docker compose up -d
👥 Managing Projects, Users & Robot Accounts
-
Go to Projects
-
Click New Project
-
Name it:
backend -
Set visibility: Private
Your images will look like:
registry.ktechhub.com/backend/api:v1
-
Go to Administration → Users
-
Click New User
-
Assign roles inside projects:
-
Developer (push/pull)
-
Maintainer
-
Guest (pull only)
-
🤖 Create Robot Account (Recommended for CI/CD)
Robot accounts are scoped service accounts.
-
Go to your Project
-
Click Robot Accounts
-
Create new robot
-
Give permissions:
-
Push Repository
-
Pull Repository
-
You’ll receive:
{
  "name": "robot$backend+github-ci",
  "secret": "xxxxxxxxxxxxxxxx"
}
Login:
docker login registry.ktechhub.com
Username:
robot$backend+github-ci
Password:
secret_value
🔥 Best Practices After Setup
Inside Harbor:
-
Enable Vulnerability Scanning (Trivy)
-
Schedule Garbage Collection
-
Disable public self-registration
-
Use Robot accounts for automation
-
Backup
/dataregularly
🛡 Production Recommendations
✔ Use minimum 8GB RAM
✔ Use AMD64 server
✔ Backup /data
✔ Monitor disk usage
✔ Keep Harbor updated
🎯 Final Result
You now have:
-
Enterprise-grade private registry
-
Secure HTTPS access
-
RBAC control
-
Robot accounts for CI/CD
-
Vulnerability scanning
-
Production-ready setup

Experienced DevOps Engineer proficient in Python, Docker, Kubernetes, CI/CD, and cloud technologies. Specialized in automating processes and building scalable infrastructure for seamless development and deployment.